Simple and Creative Birthday Cake Decorating Ideas You Can Try at Home
Decorating a birthday cake doesn’t have to be complicated to look amazing. With just a few easy techniques and a bit of creativity, you can whip up stunning cakes right at home—even if baking isn’t your strong suit! In this article, I’ll share some fun and simple birthday cake decorating ideas that anyone can try. From colorful sprinkles to elegant frosting designs, these tips will help you elevate your homemade cakes without all the stress.
So, are you in need of a lovely birthday cake but feeling a bit lost on how to decorate one? Trust me, you’re not alone! I’ve been there too. Decorating cakes can sometimes feel like a daunting task, especially when you want everything to look perfect. Honestly, I consider myself pretty awful at cake decorating. But I’m lucky because my kids are super sweet and always tell me how much they love whatever cake I make, no matter how it looks! Still, I’ve grown tired of cakes that look a bit, well, less than appealing.
That’s why I decided to gather 20 Pinterest-worthy birthday cake recipes that seem simple enough for someone like me to tackle without too much trouble. Each of these cakes has a straightforward decorating style, so you don’t have to worry about making a mess or getting overwhelmed.
Here are easy ways to decorate a birthday cake that anyone can do:
Truly Easy Birthday Cakes
You know, a lot of cakes claim to be “easy,” but let’s be real—only about 25 of them actually deserve that label. I mean, have you ever read those blog posts that promise easy cake recipes? I can’t be the only one who raises an eyebrow at them.
Take fondant, for example. They say making it in six different colors is a breeze, but rolling it out and cutting it into a million shapes? That sounds like a recipe for disaster! Honestly, I’d be more likely to end up with a sticky mess than a beautiful cake. And then there’s the whole piping thing. Using a star tip to frost Elmo or Cookie Monster? Yeah, I can picture it now: one wrong squeeze and I’d have a frosting explosion instead of a cute character!
So, I’ve gathered 25 super easy ways to decorate a birthday cake that won’t leave you pulling your hair out. These methods are straightforward, stress-free, and perfect for anyone who wants to make a cake look great without all the fuss. Trust me, if I can do it, you can too! Let’s dive in and make cake decorating fun and simple!
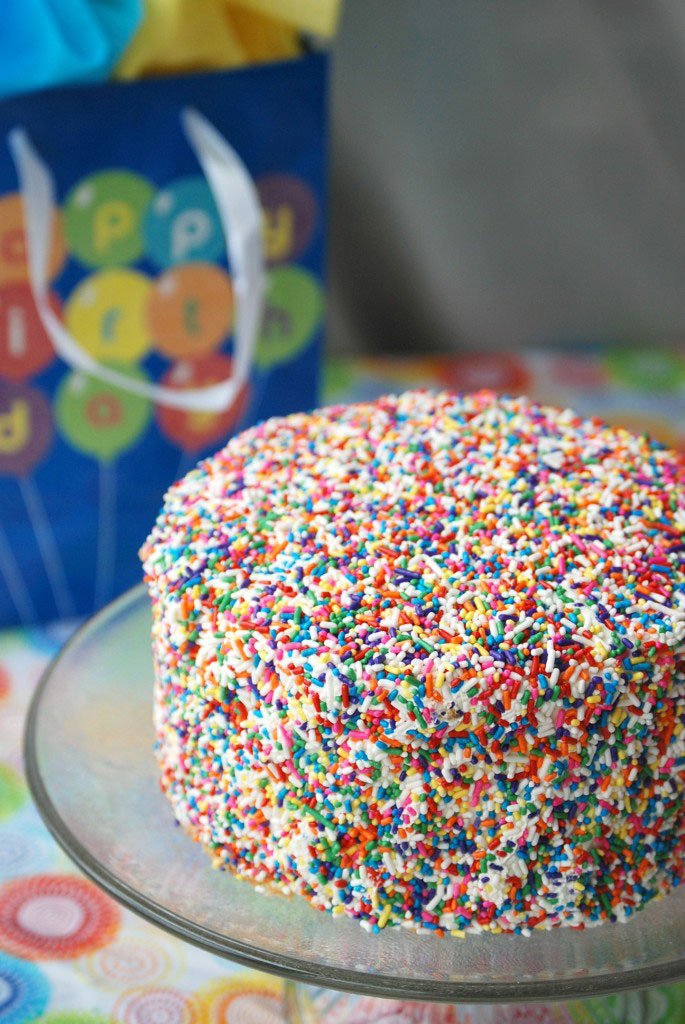
Sprinkle Cake
Here’s a simple guide to making a cake decorated with sprinkles that hides any frosting imperfections:
How to Decorate a Cake with Sprinkles
Ingredients:
- Your favorite cake (homemade or store-bought)
- Frosting (store-bought or homemade)
- A generous amount of sprinkles (any type you like!)
Steps:
- Bake and Cool Your Cake: If you’re making your own cake, bake it according to the recipe and let it cool completely. This is super important; if the cake is warm, the frosting will melt!
- Level the Cake (Optional): If your cake has domed on top, you might want to level it with a knife. This makes for a nicer presentation.
- Frost the Cake: Use a spatula to spread a layer of frosting on the top and sides of your cake. Don’t worry about it being perfect—this is where the sprinkles will come to the rescue!
- Add the Sprinkles: Grab a handful of sprinkles and gently press them onto the sides of the cake. You can do this by pouring the sprinkles onto the cake or using your fingers to place them where you want.
- Finish the Top: If you like, sprinkle some on top too! You can either cover the entire surface or just add a few for a pop of color.
- Serve and Enjoy: Slice it up and serve! Your cake looks festive, and any little frosting flaws are totally hidden by the sprinkles.
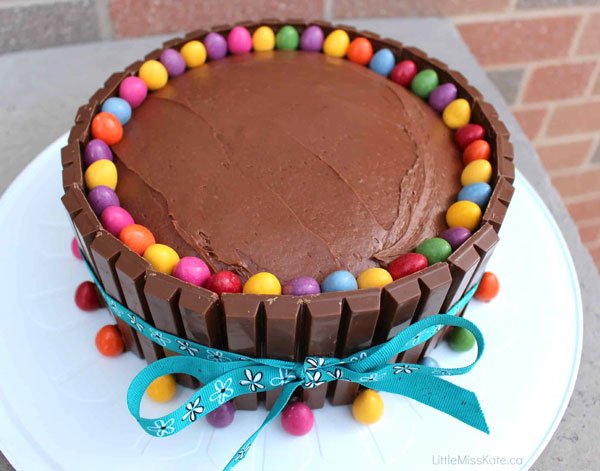
Kit Kat Cake
That’s such a fun and delicious idea! A two-layer chocolate cake decorated with Kit Kats is sure to impress. Here’s a simple guide to making it:
How to Make a Kit Kat Cake
Ingredients:
- 1 two-layer chocolate cake (homemade or store-bought)
- Frosting (chocolate or vanilla works great)
- Kit Kat bars (enough to cover the sides)
- Optional: M&M’s or other candies for the top
Steps:
- Bake and Cool Your Cake: If you’re making your own cake, bake two layers of chocolate cake and let them cool completely.
- Frost the Layers: Place one layer on a cake stand or plate. Spread a layer of frosting on top, then add the second layer. Frost the top and the sides of the entire cake, ensuring it’s smooth. Don’t worry if it’s not perfect!
- Prepare the Kit Kats: Open the Kit Kat bars and break them into individual sticks. You’ll need enough to go around the entire cake.
- Add the Kit Kats: Starting from the bottom, gently press the Kit Kat bars upright against the sides of the cake. Arrange them so they’re touching and standing tall.
- Decorate the Top: If you like, you can add some M&M’s or other candies in the center of the cake for extra flair.
- Serve and Enjoy: Slice it up and watch everyone’s faces light up! The combination of chocolate cake and Kit Kats is sure to be a hit.
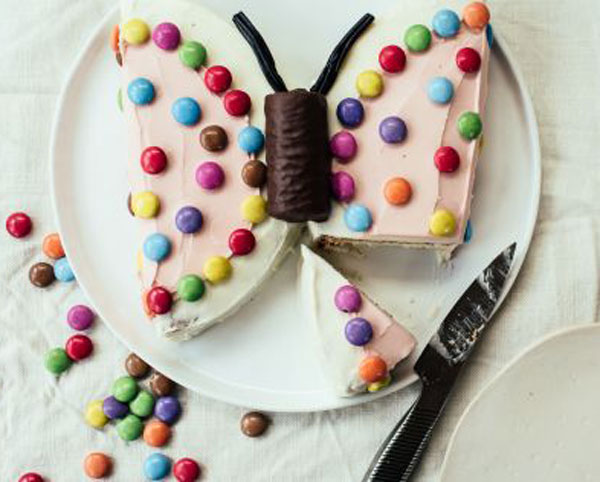
Butterfly Cake
That sounds like a delightful project! Turning a round cake into a butterfly is both fun and creative. Here’s a simple guide to help you make your butterfly cake:
How to Make a Butterfly Cake
Ingredients:
- 1 round cake (any flavor)
- White buttercream frosting
- Assorted candies for decoration (think gummy worms, chocolate candies, sprinkles, etc.)
- Optional: edible glitter or fruit for extra flair
Steps:
- Bake and Cool Your Cake: If you’re making your own cake, bake it according to your recipe and let it cool completely. This is crucial for easy decorating!
- Frost the Cake: Once the cake is cool, spread a generous layer of white buttercream frosting on the top and sides. Make sure it’s smooth and evenly covered.
- Cut the Cake: Carefully cut the cake in half horizontally. Then, take each half and position them on the plate or cake stand, so they resemble butterfly wings—one half on each side.
- Decorate the Wings: Now comes the fun part! Use your assorted candies to decorate the wings. You can create patterns with the candies, using gummy worms for the body and smaller candies for the details on the wings. Be creative!
- Add Final Touches: If you have edible glitter or fresh fruit, sprinkle them on top for an extra pop of color and sparkle.
- Serve and Enjoy: Once you’re happy with your butterfly design, slice it up and enjoy the beautiful creation!
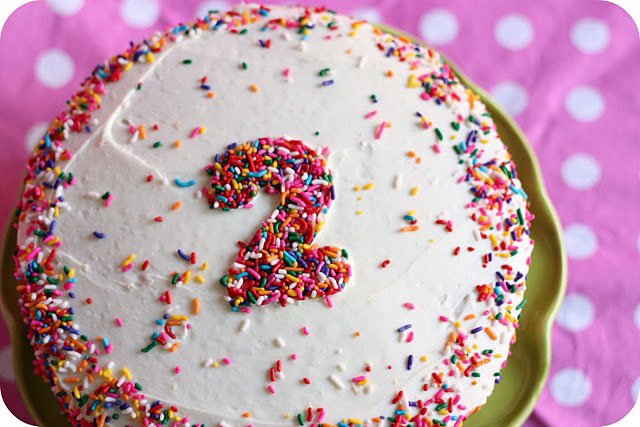
Sprinkle Number Cake
That sounds like a fantastic and easy way to decorate a birthday cake! Here’s a simple guide to help you create a beautiful cake with sprinkles using a cookie cutter:
How to Make a Cake with Cookie Cutter Sprinkles
Ingredients:
- 1 round cake (any flavor you like)
- Frosting (your choice, like buttercream or cream cheese)
- Sprinkles in various colors
- A cookie cutter (choose a fun shape, like stars or hearts)
Steps:
- Bake and Cool Your Cake: If you’re making the cake from scratch, bake it according to your recipe and let it cool completely. This ensures that the frosting won’t melt when you apply it.
- Frost the Cake: Once the cake is cool, spread an even layer of frosting on the top and sides. Use a spatula for a smooth finish.
- Prepare the Cookie Cutter: Choose your cookie cutter shape and press it into the sprinkles, filling it up. This will help you create fun, shaped sprinkle designs.
- Add the Sprinkles: Carefully press the cookie cutter with the sprinkles onto the frosted cake. Lift it off gently to reveal a perfect shape! Repeat this process in different spots on the cake to create a colorful design.
- Finish It Off: If you want, you can add a few extra sprinkles on top for an added pop.
- Serve and Enjoy: Your cake is now beautifully decorated and ready to impress! Slice it up and enjoy the deliciousness.
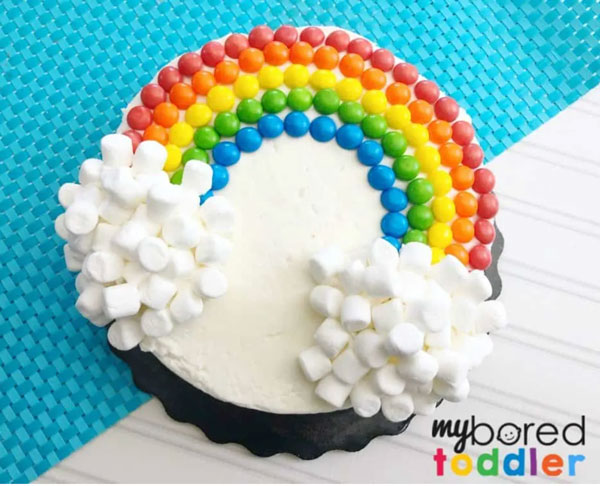
Rainbow Cake
That’s such a fun and colorful idea! Decorating a store-bought cake with a rainbow of Skittles and marshmallows is super easy and looks amazing. Here’s how to do it:
How to Create a Rainbow Cake with Skittles and Marshmallows
Ingredients:
- 1 store-bought cake (any flavor)
- White frosting (or a color of your choice)
- Skittles (various colors)
- Mini marshmallows
Steps:
- Prepare Your Cake: Start with a store-bought cake of your choice. If it has any decorations on it, you might want to scrape them off or simply frost over them.
- Frost the Cake: Spread a layer of white frosting over the top and sides of the cake. This will be the base for your rainbow. Make sure it’s even and smooth.
- Create the Rainbow: Start at one edge of the cake and create a curved line with the Skittles, placing them in a rainbow order (red, orange, yellow, green, blue, purple). Gently press them into the frosting to help them stick.
- Add Marshmallows: Place mini marshmallows at the ends of the Skittles rainbow to mimic clouds. You can create a fluffy effect by grouping them together.
- Finish Up: If you like, you can add some extra Skittles around the base of the cake for a fun touch!
- Serve and Enjoy: Slice the cake and watch everyone’s faces light up at the colorful surprise inside!
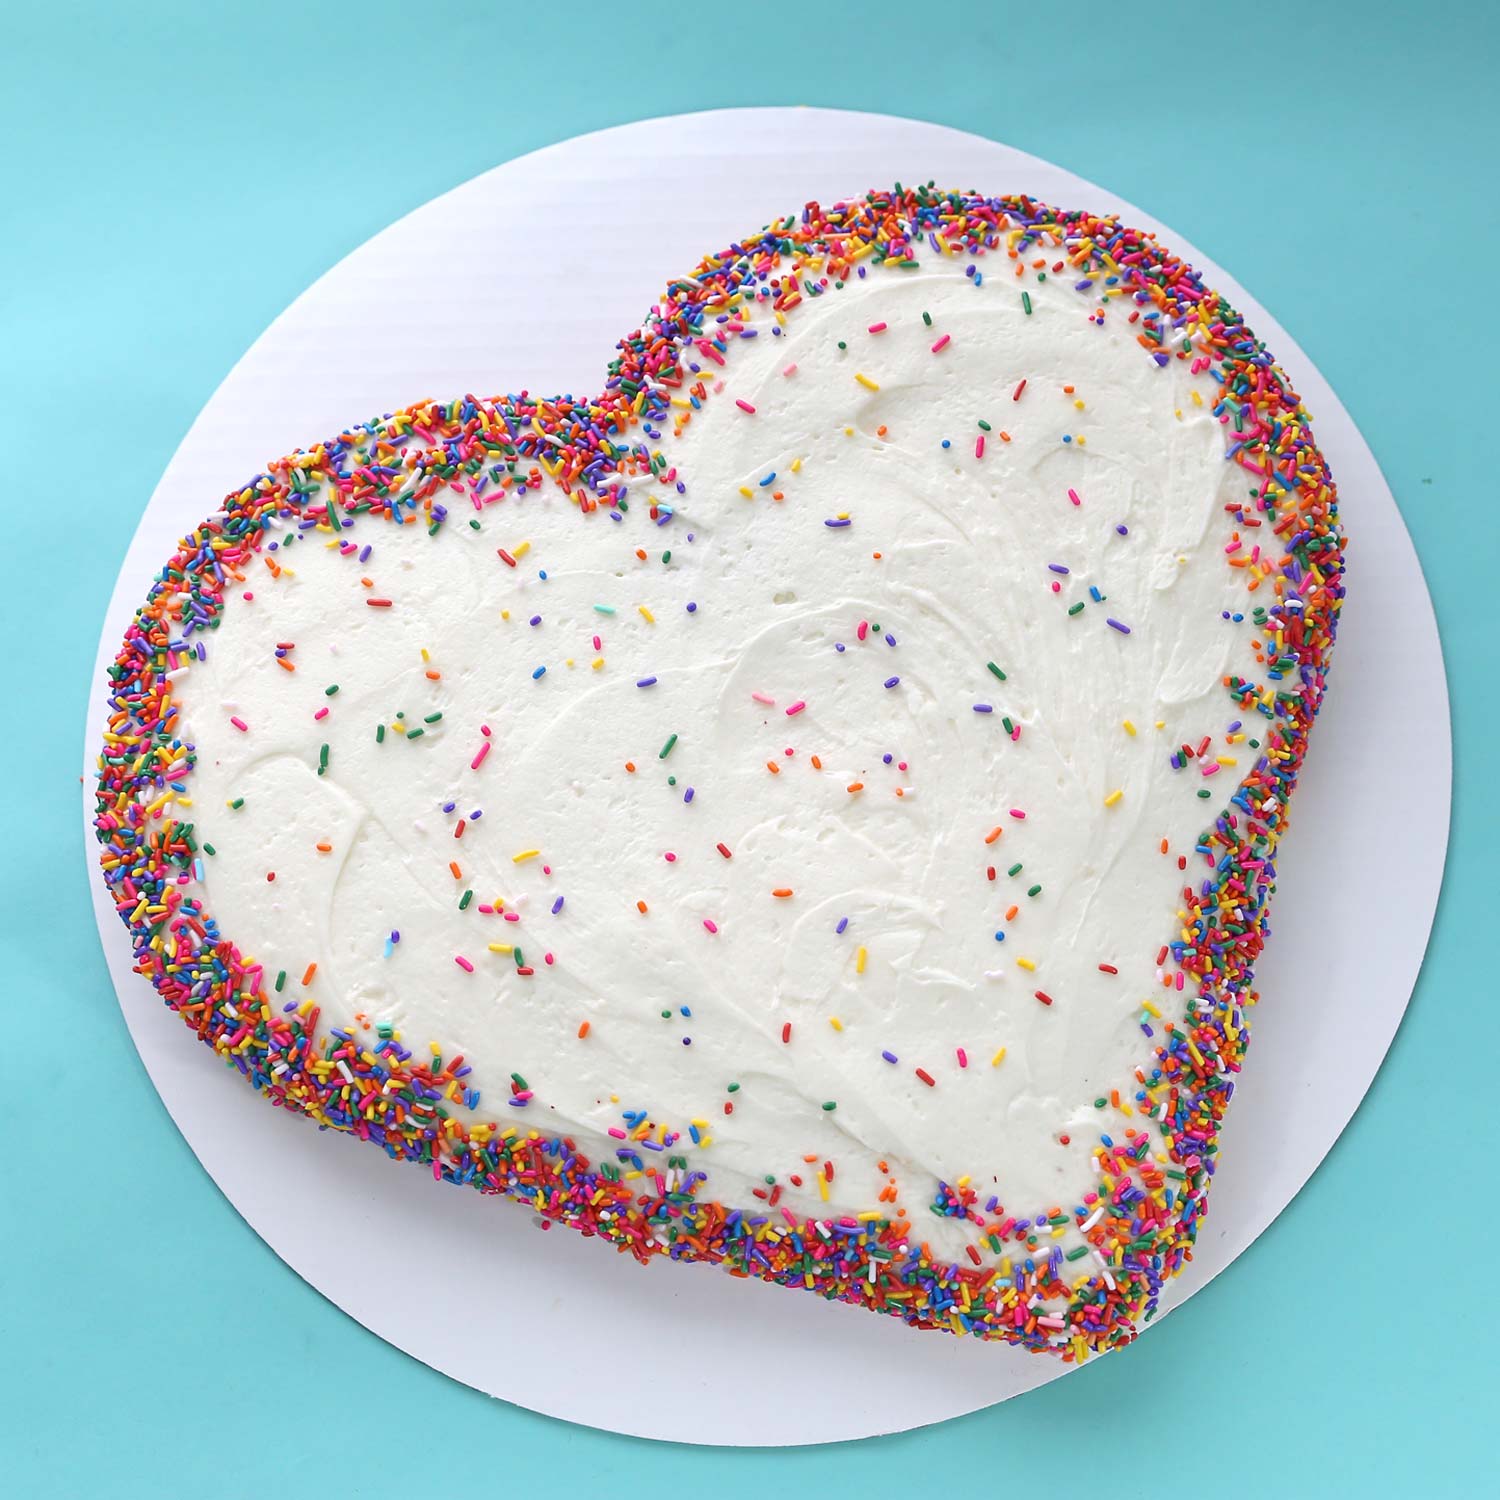
Sweetheart Cake
Creating a heart-shaped cake without a special pan is a great idea for a sweetheart birthday party! Here’s a simple guide on how to do it using standard round cake pans:
How to Make a Heart-Shaped Cake Without a Heart Pan
Ingredients:
- 2 round cake layers (any flavor)
- Frosting (buttercream or cream cheese)
- Optional: Decorations (sprinkles, chocolate chips, fresh fruit)
Steps:
- Bake the Cake: Start by baking two round cake layers according to your recipe or package instructions. Let them cool completely.
- Trim the Cakes: Once the cakes are cool, place them on a cutting board. Take one layer and cut it in half. You’ll now have two semi-circles.
- Assemble the Heart: Place the whole cake layer on your serving plate. Position the two semi-circles at the top of the whole layer, forming a heart shape.
- Frost the Cake: Use your frosting to cover the entire cake, including the top and sides. Don’t worry about making it perfect—this is just the base layer!
- Decorate: Once frosted, you can add decorations. Use sprinkles, chocolate chips, or fresh fruit to make it look festive. You might even write a sweet message on top!
- Serve and Enjoy: Slice it up and enjoy the lovely heart-shaped cake!
Giant Donut Cake
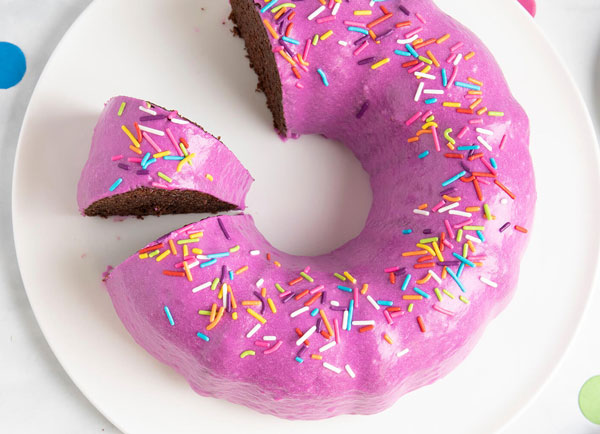
Making a bundt cake that looks like a giant donut is such a fun idea! Here’s a simple guide to help you create this cute cake, along with a delicious glaze recipe.
How to Make a Bundt Cake that Looks Like a Giant Donut
Ingredients:
- 1 bundt cake mix (or your favorite homemade cake recipe)
- Ingredients required for the cake mix (usually eggs, oil, water)
- For the Glaze:
- 1 cup powdered sugar
- 2-3 tablespoons milk or water
- 1 teaspoon vanilla extract
- Optional: food coloring for a fun twist
- Sprinkles for decoration
Steps:
- Preheat the Oven: Preheat your oven according to the instructions on the cake mix or recipe.
- Prepare the Bundt Pan: Grease and flour your bundt pan well to ensure easy removal after baking.
- Make the Cake Batter: Follow the instructions on the cake mix or your recipe to prepare the batter. Pour it into the prepared bundt pan.
- Bake the Cake: Bake according to the package or recipe instructions, typically around 25-35 minutes, until a toothpick comes out clean.
- Cool the Cake: Once baked, let the cake cool in the pan for about 10-15 minutes, then carefully invert it onto a wire rack to cool completely.
- Make the Glaze:
- In a bowl, mix the powdered sugar with 2 tablespoons of milk or water until smooth. Add more liquid if needed to reach your desired consistency.
- Stir in the vanilla extract and any food coloring you’d like.
- Glaze the Cake: Once the cake is completely cool, drizzle the glaze over the top, allowing it to run down the sides.
- Add Sprinkles: While the glaze is still wet, sprinkle your favorite toppings on top for that donut look!
- Serve and Enjoy: Slice it up and watch everyone enjoy this adorable donut-inspired cake!
Fluffy Lamb Cake
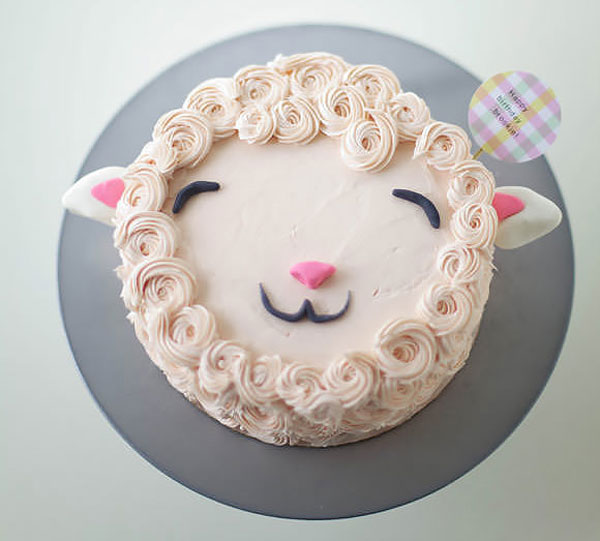
Making an adorable lamb cake is a fantastic project, and it’s easier than it looks! Here’s a simple guide to help you create this fluffy masterpiece, along with tips for piping the rosettes.
How to Make an Adorable Lamb Cake
Ingredients:
- 1 round cake (any flavor, store-bought or homemade)
- White buttercream frosting
- Chocolate candies (for the eyes and nose)
- Optional: mini marshmallows or coconut flakes for extra fluffiness
Tools:
- Piping bag with a star tip (like a Wilton 1M)
- Cake board or plate
Steps:
- Bake and Cool the Cake: If you’re making your own cake, bake it according to your recipe and let it cool completely.
- Frost the Cake: Spread a thin layer of buttercream frosting over the top and sides of the cake to create a crumb coat. Chill the cake for about 30 minutes to set the frosting.
- Prepare the Piping Bag: Fill your piping bag with white buttercream and attach the star tip.
- Pipe the Rosettes:
- Starting from the bottom of the cake, pipe rosettes by creating a swirl. Begin in the center and move outward, lifting the tip as you finish the swirl.
- Continue piping rosettes all around the cake, working your way up. Don’t worry about perfection; this will create the fluffy wool effect!
- Add the Face: Once the cake is covered in rosettes, use chocolate candies for the eyes and nose. You can use a small round candy for the nose and two larger ones for the eyes.
- Add Extra Fluff (Optional): For added texture, you can place mini marshmallows or sprinkle coconut flakes around the cake for a fluffy look.
- Serve and Enjoy: Your adorable lamb cake is ready to be served! Cut into it and enjoy the deliciousness inside.
Camping Cake
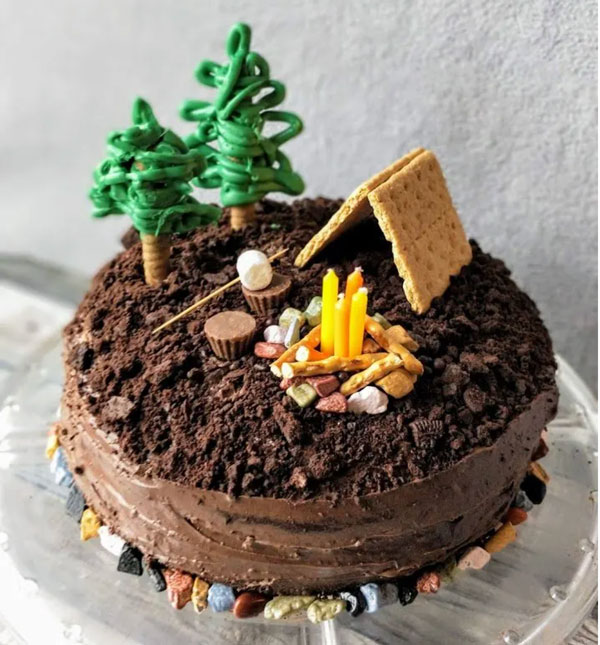
That camping cake sounds amazing! It’s such a creative way to celebrate a camping theme. Here’s a simple guide to help you make this cool cake:
How to Make a Camping Cake
Ingredients:
- 1 round cake (any flavor)
- Frosting (chocolate or vanilla)
- Oreo cookies (for “dirt”)
- Graham crackers (for the tent)
- Candy or orange lights (for the campfire)
- Optional: green candy or icing (for grass)
Steps:
- Bake and Cool the Cake: Start by baking your cake according to the recipe or package instructions. Once it’s done, let it cool completely.
- Frost the Cake: Spread an even layer of frosting over the top and sides of the cake. You can use chocolate frosting to mimic the earth or any color you like.
- Create the “Dirt”: Crush the Oreo cookies into fine crumbs. Sprinkle them generously over the top and sides of the cake, pressing gently to adhere. This will give the effect of dirt!
- Make the Tent: Break graham crackers into rectangles to form the tent. You can create a simple triangular tent shape by stacking them or using icing to hold them together. Place it on top of the cake.
- Add the Campfire: Use orange candies (like gummy bears or orange slices) to create a campfire effect. You can arrange them in a circle around the tent or place them in front to mimic flames.
- Optional Grass Touch: If you have green icing or candy, you can pipe or sprinkle some around the base of the cake to add grass details.
- Serve and Enjoy: Your camping cake is ready to impress! Cut into it and enjoy the deliciousness inside.
Dinosaur Cake
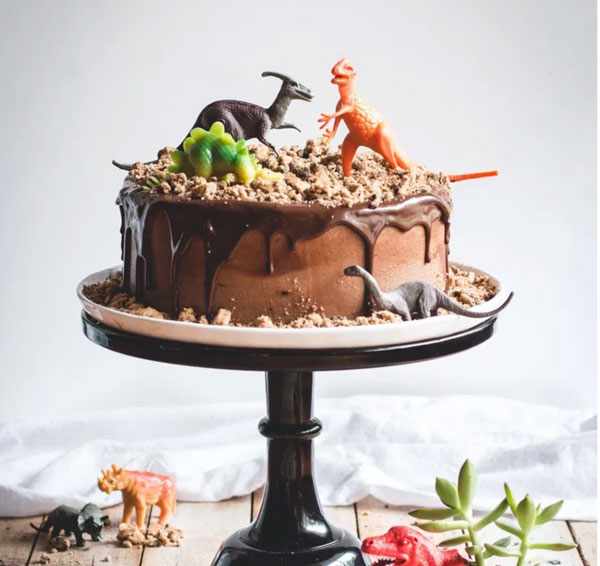
The Chocolate Chip Ahoy Dinosaur Cake sounds like such a fun and delicious project! Here’s a simple guide to help you create this epic cake, complete with tips for decorating:
How to Make a Chocolate Chip Ahoy Dinosaur Cake
Ingredients:
- 1 round cake (homemade or store-bought)
- Chocolate frosting (see below for a quick recipe)
- Chocolate ganache (see below for a quick recipe)
- Chocolate Chip Ahoy cookies (for decoration)
- Dinosaur figurines (to place on top)
Quick Chocolate Frosting Recipe:
- 1 cup unsalted butter, softened
- 3-4 cups powdered sugar
- 1/2 cup cocoa powder
- 1/4 cup milk
- 1 teaspoon vanilla extract
Quick Chocolate Ganache Recipe:
- 1 cup chocolate chips
- 1/2 cup heavy cream
Steps:
- Bake the Cake: If you’re making the cake from scratch, follow your favorite chocolate cake recipe. Alternatively, you can use a chocolate cake mix. Bake according to instructions and let it cool completely.
- Prepare the Frosting: In a mixing bowl, beat the softened butter until creamy. Gradually add powdered sugar and cocoa powder, mixing until combined. Add milk and vanilla, and beat until fluffy.
- Frost the Cake: Once the cake is cooled, spread a layer of chocolate frosting over the top and sides. Make it smooth or create some texture for a fun look!
- Make the Ganache: In a small saucepan, heat the heavy cream until just simmering. Remove from heat and stir in the chocolate chips until melted and smooth. Let it cool slightly before using.
- Decorate with Cookies: Place Chocolate Chip Ahoy cookies around the base of the cake or on top for extra decoration. They’ll look like rocky terrain!
- Add the Dinosaurs: Position your dinosaur figurines on top of the cake. You can create a fun scene with them battling or just standing around.
- Drizzle Ganache: Drizzle the chocolate ganache over the top of the cake for an extra decadent touch.
- Serve and Enjoy: Your Chocolate Chip Ahoy Dinosaur Cake is ready! Slice it up and enjoy the deliciousness.
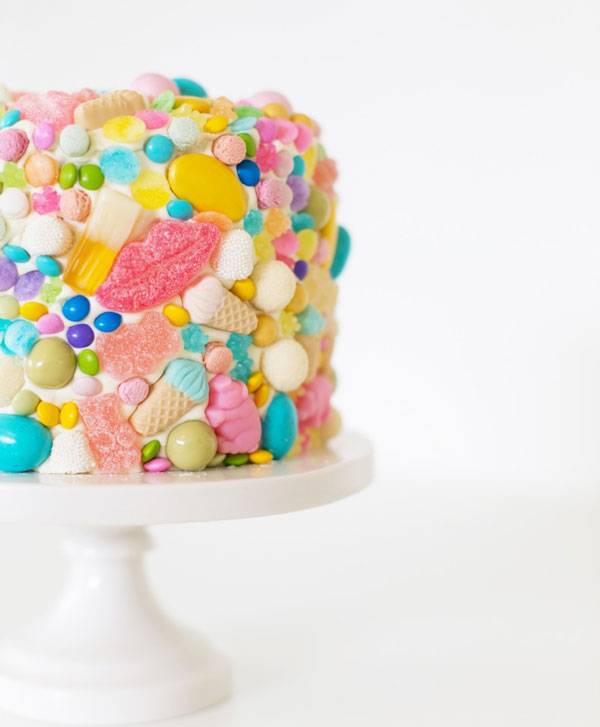
Candy Cake
That sounds like a delightful and easy way to decorate a cake! Here’s a simple guide to help you cover your cake with candy for a sweet and colorful look:
How to Make a Candy-Covered Cake
Ingredients:
- 1 box cake mix (any flavor)
- Ingredients required for the cake mix (usually eggs, oil, water)
- Frosting (store-bought or homemade)
- Assorted candies (M&M’s, gummy bears, chocolate bars, etc.)
- Optional: a pretty cake stand for presentation
Steps:
- Bake the Cake: Prepare your cake mix according to the package instructions. Once baked, let the cake cool completely.
- Frost the Cake: Once cooled, apply a layer of frosting over the top and sides of the cake. A smooth layer works best to help the candies stick, but you can also create a textured look if you prefer.
- Prepare the Candies: Choose a variety of candies in different shapes and colors. This will make your cake visually appealing and fun!
- Decorate with Candy: Start placing the candies all over the frosted cake. You can either press them into the frosting or arrange them in a pattern for a more organized look. Don’t be afraid to get creative!
- Add Final Touches: If you have any leftover candies, consider placing them on the cake stand around the base of the cake for added decoration.
- Display on a Cake Stand: Once you’re happy with the decoration, carefully place the cake on a beautiful cake stand. This will elevate the presentation and make it look fancy.
- Serve and Enjoy: Slice the cake and enjoy the sweet goodness!
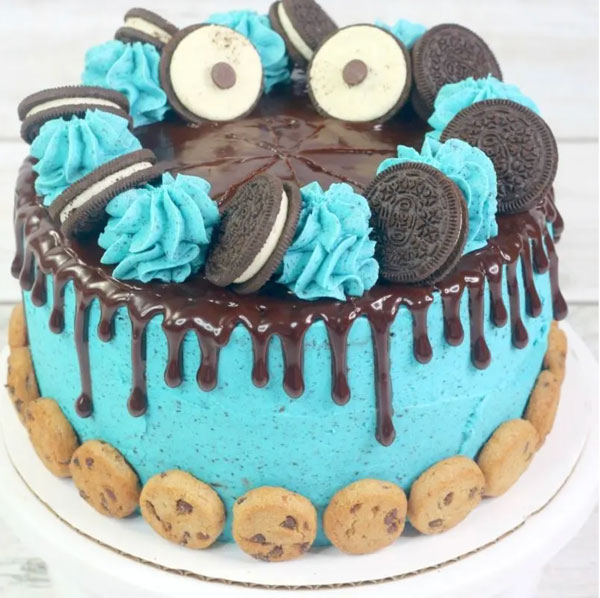
Cookie Monster Cake
Creating a Cookie Monster cake that looks cute without all the piping work is a fantastic idea! Here’s a simple guide to help you make a fun and easy Cookie Monster cake:
How to Make a Simple Cookie Monster Cake
Ingredients:
- 1 round cake (any flavor, homemade or store-bought)
- Blue frosting (store-bought or homemade)
- Chocolate cookies (like Oreos or chocolate chip cookies)
- Black fondant or chocolate candies (for eyes)
- Optional: a cake board or stand for presentation
Steps:
- Bake the Cake: If you’re making the cake from scratch, bake it according to your recipe or package instructions. Let it cool completely.
- Frost the Cake: Spread a generous layer of blue frosting over the top and sides of the cake. You don’t need to worry about making it perfectly smooth—this will help create the furry texture.
- Create Cookie Monster’s Face:
- Eyes: Use two large chocolate cookies or make fondant circles for the eyes. Place them on top of the cake, slightly apart.
- Pupils: Use smaller black candies or fondant to create the pupils and place them on the cookie eyes.
- Mouth: For the mouth, you can either use a piece of a chocolate cookie (like a half) or pipe a simple mouth shape with black frosting.
- Add Cookie Crumbles: Crush some chocolate cookies and sprinkle them around the base of the cake to look like Cookie Monster’s crumbs.
- Serve and Enjoy: Your fun Cookie Monster cake is ready to delight everyone! Slice it up and enjoy!

